The Ultimate ADA Bathroom Checklist: Essential Wheelchair Accessible Shower Guide for a Safer Home
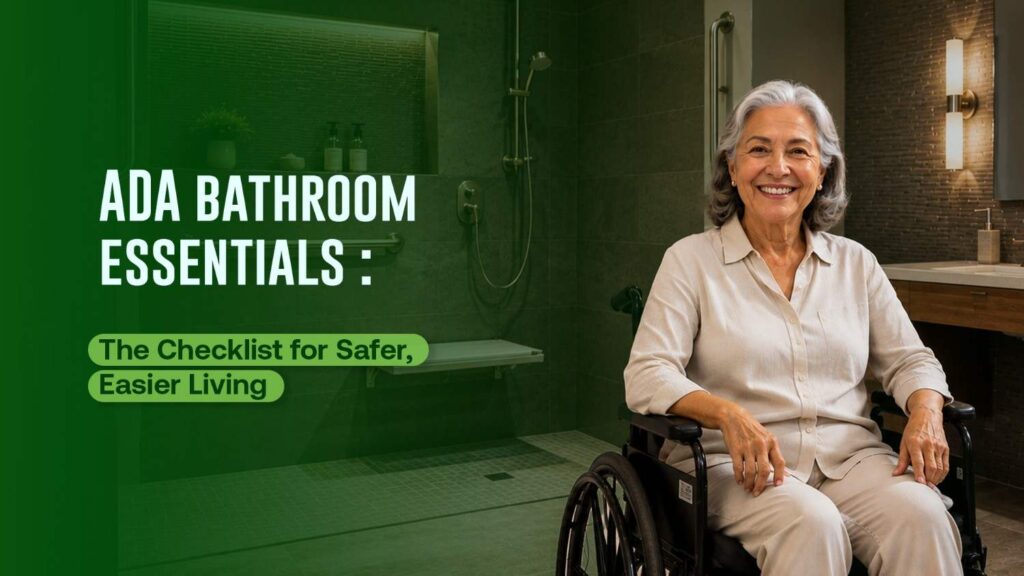
A bathroom should be the last place in your home where safety feels uncertain. Yet for older adults, wheelchair users, and anyone managing limited mobility, wet tile, high tub walls, and unstable fixtures turn an everyday routine into a genuine hazard. At All Access, we’ve walked into hundreds of Philadelphia bathrooms that looked fine on the surface but failed almost every ADA benchmark that actually matters for safety.
This checklist breaks down exactly what a compliant, truly usable accessible bathroom requires, from a wheelchair accessible shower down to the smallest grab bar bracket. Whether you’re planning ahead for aging in place or responding to a recent fall, this guide gives you the full picture before you call a contractor.
Why ADA Bathroom Modifications Matter for Every Home
ADA bathroom modifications matter because they replace guesswork with measurements proven to prevent falls, the leading cause of injury for older adults and wheelchair users at home. The Americans with Disabilities Act sets the baseline for public accessibility, but its bathroom standards have quietly become the gold standard for residential safety too. Occupational therapists, home modification specialists, and insurers all lean on the same measurements because they work.
A poorly modified bathroom can be worse than an unmodified one. A grab bar mounted into drywall instead of a stud, a shower threshold that’s technically “low” but still catches a wheelchair caster, a shower bench positioned just out of reach of the controls: these near-misses give homeowners false confidence right up until they don’t. That’s why every project All Access takes on starts with the same question: does this bathroom meet real grab bars ADA requirements, or does it just look accessible in photos?
Understanding ADA Shower Grab Bar Requirements
Grab bars are the single most cost-effective safety upgrade in any accessible bathroom, but only when they’re placed and rated correctly. Loose or wrongly positioned bars give people a false sense of security, and that’s arguably more dangerous than having no bar at all. Meeting ada shower grab bar requirements isn’t optional if you want the bathroom to hold up under real use, not just pass a quick visual check.
Where Grab Bars Must Be Placed
ADA shower grab bar requirements specify precise zones inside a shower or tub enclosure: a horizontal bar along the back wall, a vertical or horizontal bar on the control wall within reach of a seated user, and, where a transfer wall exists, a bar positioned to support someone moving from a wheelchair to a shower bench. Height matters just as much as placement. Bars generally sit between 33 and 36 inches above the finished floor, positioned so a seated or standing user can grip them without twisting or overreaching.
Toilets need their own grab bar configuration too: a bar on the side wall and one behind the fixture, each sized to the specific layout of the room. This is where a lot of DIY installations go wrong. People buy a single straight bar and mount it wherever there’s open wall space, which technically adds a handhold but doesn’t actually meet grab bars ADA requirements for a functional support system.
Grab Bars ADA Requirements for Load Weight and Mounting
A code-compliant grab bar has to hold a minimum of 250 pounds of force without flexing, which means it has to be anchored into wall studs or reinforced blocking, never just drywall anchors. This is one of the most common failures All Access finds during assessments: a previous installer used toggle bolts on hollow drywall, and the bar looks solid until real weight is applied during a fall.
Diameter matters too. Bars generally need a 1.25 to 1.5 inch grip diameter with a smooth, slip-resistant finish and enough clearance from the wall for a full hand grip, including for someone wearing a brace or using a cane. If you already have grab bars installed and you’re not sure they meet current ada shower grab bar requirements, our Grab Bars for ADA Bathrooms guide walks through the full spec sheet, or you can browse our grab bar installation services directly.
Building a Wheelchair Accessible Shower That Actually Works
A wheelchair accessible shower is more than a walk-in unit with a low step. It’s an entire system of clearances, slopes, and fixtures designed to work together, and missing any single piece undermines the whole space.
Curbless Entry and Clear Floor Space
The defining feature of a genuine wheelchair accessible shower is a curbless, zero-threshold entry that lets a chair roll straight in without a lip to catch on. The shower floor needs a gentle slope toward the drain, engineered so water clears the space without pooling near the entry point. Inside, a wheelchair accessible shower needs a minimum 30 by 60 inch clear floor area, giving a wheelchair or shower chair room to maneuver and turn without bumping fixtures.
Doorways leading into the bathroom matter here too. A 32 to 36 inch clear opening is the standard most accessibility specialists design around, since anything narrower turns a compliant wheelchair accessible shower into a space nobody can actually reach.
Shower Seating and Controls
Every wheelchair accessible shower needs either a built-in fold-down bench or a portable shower chair rated for wet environments, positioned so it lines up with the grab bar layout described above. Controls, including the handheld showerhead and temperature valve, should sit within a 15 to 48 inch reach range from a seated position, ideally on the wall nearest the bench rather than across the enclosure.
Anti-scald valves are worth calling out specifically. They’re not always required by code, but they’re standard practice in any wheelchair accessible shower All Access installs, since users with limited sensation or slower reaction times are far more vulnerable to burns from sudden temperature spikes. You can see the full scope of what we build on our ADA showers page, and our team recently walked through a real install on Instagram if you want to see the finished result: watch the reel here.
The Complete ADA Bathroom Modification Checklist
Use this list as your walkthrough before signing off on any accessible bathroom project:
- Shower entry: Curbless threshold, sloped floor, minimum 30×60 inch clear space for a wheelchair accessible shower
- Grab bars: Stud-mounted bars at the shower back wall, control wall, and toilet, all meeting grab bars ADA requirements for height, diameter, and 250 lb load rating
- Shower controls: Handheld sprayer, anti-scald valve, and temperature controls within seated reach
- Seating: Fold-down bench or portable chair rated for wet use, positioned near controls
- Flooring: Slip-resistant, non-glare tile or vinyl throughout the bathroom, not just inside the shower
- Toilet height: 17 to 19 inches from floor to seat, with grab bars on both the side and rear walls
- Sink and vanity: Knee clearance underneath, wall-mounted or open-base design, faucet with lever handles
- Doorway: 32 to 36 inch clear opening with lever-style door hardware instead of round knobs
- Lighting: Bright, even lighting with minimal shadows, plus supplemental task lighting near the mirror and shower
- Emergency access: A call button, pendant alarm, or intercom system, especially for anyone living alone
Every item on this list ties back to the same goal: reducing fall risk without making the room feel clinical. Our home accessibility remodeling services cover each of these elements as part of a single coordinated renovation rather than a patchwork of unrelated fixes.
Common Mistakes Homeowners Make with ADA Bathroom Modifications
The three most common ADA bathroom mistakes are treating grab bars as an afterthought, choosing a wheelchair accessible shower for its looks instead of its clearances, and skipping a professional assessment entirely. Each one quietly undermines the safety the modification was supposed to provide.
The most frequent error we see is treating grab bars ada requirements as an afterthought, something added after tile and fixtures are already in. Retrofitting bars after the fact usually means settling for whatever wall space is available instead of the placement that actually supports safe movement.
The second mistake is choosing a wheelchair accessible shower based on appearance rather than function. A shower can look sleek and modern while still lacking the slope, threshold, and reach clearances that make it genuinely usable for a wheelchair user. And the third, often overlooked issue: skipping a professional assessment entirely. What feels like enough space when you’re standing and able-bodied is frequently far too tight once you factor in a wheelchair’s turning radius or a caregiver assisting from the side.
For a broader look at how these mistakes play out across an entire home, not just the bathroom, our post on accessible home modifications in Philadelphia covers the most common oversights room by room.
Working with All Access for Your Accessible Bathroom
Every bathroom All Access designs starts with a licensed, on-site assessment rather than a generic template. We measure doorway widths, turning radii, and existing plumbing before recommending a single fixture, and every grab bar we install is anchored to stud or engineered blocking that meets true ada shower grab bar requirements, not just a bar screwed into whatever wall happens to be nearby.
Our team also works alongside occupational and physical therapists during the planning phase, so the finished wheelchair accessible shower isn’t just code-compliant on paper. It matches how you actually move through your own home. You can see that process explained in more depth in this video walkthrough: All Access on YouTube.
If budget is part of what’s holding your project back, our guide on how to pay for home accessibility modifications breaks down financing routes, and Medicare or VA coverage options may apply depending on your situation.
Frequently Asked Questions
What’s the minimum clear floor space required for a wheelchair accessible shower?
Most accessibility specialists design around a 30 by 60 inch clear floor area inside the shower itself, plus a 32 to 36 inch clear doorway leading into the bathroom.
How high should grab bars be mounted?
Grab bars ada requirements generally call for mounting height between 33 and 36 inches above the finished floor, though exact placement shifts slightly depending on whether the bar supports a seated or standing user.
Can I install grab bars myself?
You can, but ada shower grab bar requirements around load rating and stud mounting are easy to get wrong without the right tools and wall access. A bar that isn’t anchored into solid blocking can fail under real weight even if it looks secure.
Does insurance ever cover ADA bathroom modifications?
Sometimes, particularly through Medicare Advantage plans, Medicaid waivers, or VA grants for veterans. Coverage varies by provider and situation, which is why a professional consultation is worth the time before you budget the full project yourself.
How long does a full accessible bathroom renovation take?
Timelines vary by scope, but a complete wheelchair accessible shower and grab bar installation through All Access typically runs a few weeks from final design approval to walkthrough, depending on permitting and material availability in the Philadelphia area.
Ready to see what your bathroom actually needs? Schedule a free assessment with All Access and get a clear, written plan built around real ADA standards rather than guesswork.